Browser Journey Deployment & Configuration
Achieve proactive web performance monitoring by integrating vuSyntheticBrJourney into the system. This feature simulates real user interactions by executing pre-recorded browser journeys and capturing performance metrics, errors, response times, and screenshots. The collected telemetry data is then processed and visualized within vuSmartMaps, ensuring continuous tracking of web application performance.
vuSmartMaps Configuration: Enabling vuSyntheticBrJourney
Enabling Browser RUM O11ySource
- Navigate to O11ySources:
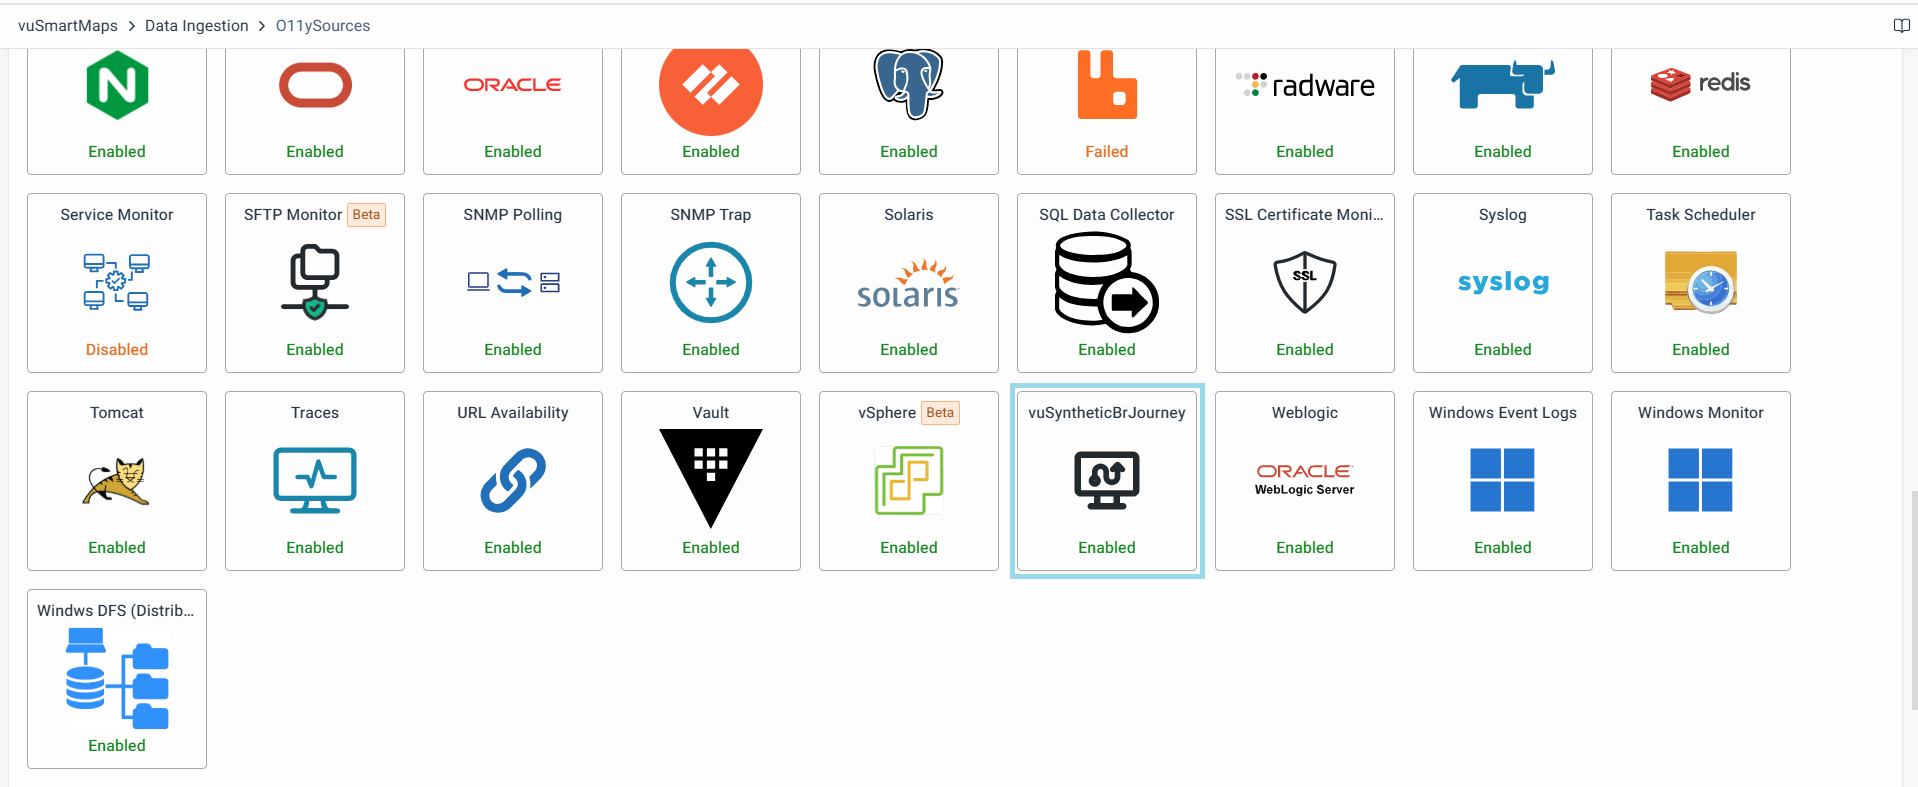
- vuSmartMaps O11ySources can be accessed by navigating from the left navigation menu (Data Ingestion > O11ySources).
- Locate vuSyntheticBrJourney O11ySource on the landing page.
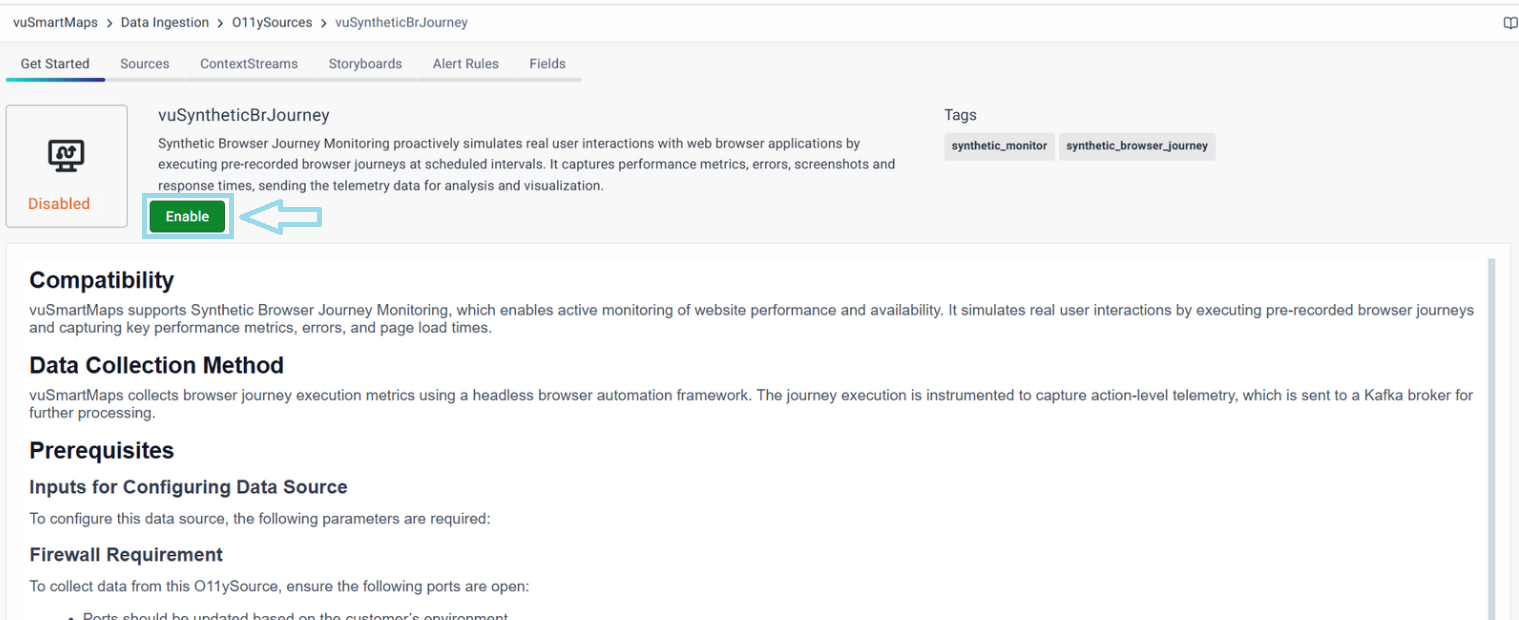
- Enable vuSyntheticBrJourney O11ySources:
- Click the Enable button to activate vuSyntheticBrJourney O11ySource.
Data Collection and Processing
vuSmartMaps collects browser journey execution metrics using a headless browser automation framework. Each journey execution is instrumented to capture action-level telemetry, which is then sent to a Kafka broker for further processing.
Prerequisites
Inputs for Configuring Data Source: To configure the data source, the following parameters are required:
- Host - The IP Address/FQDN of the network devices.
Firewall Requirement: To collect data from this O11ySource, ensure the necessary ports are open.
Ports should be updated based on the customer’s environment.
Configuring Data Sources
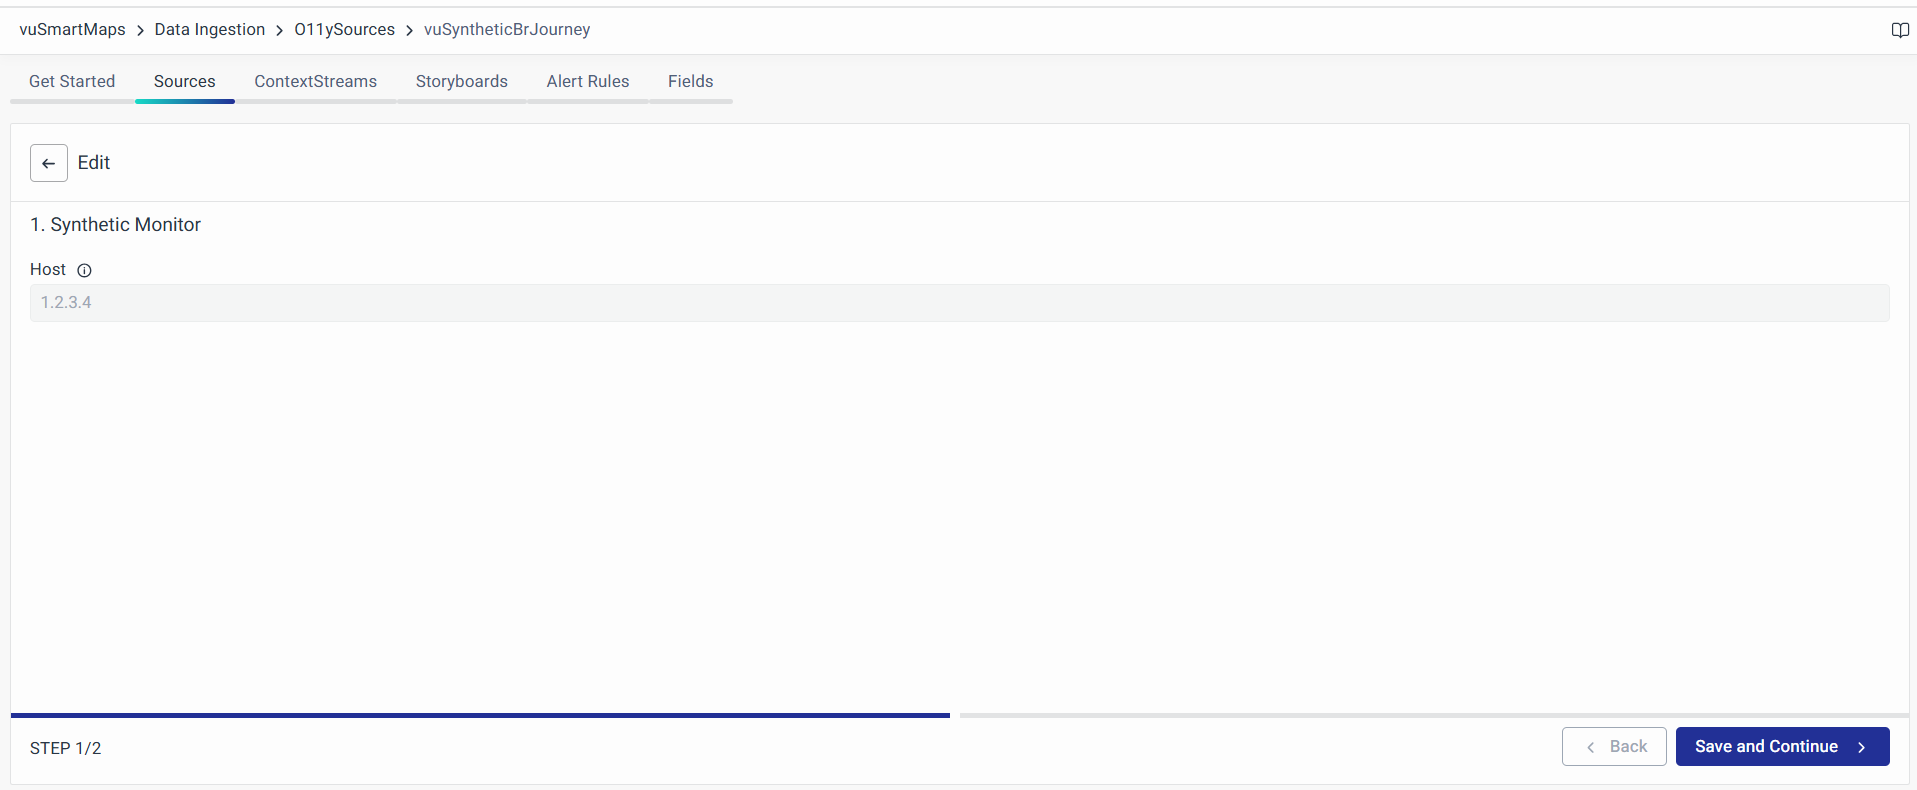
- Navigate to the Sources tab and click the + button to add new services to be monitored.
- Fill up the Following Details in the Wizard:
- Host: Enter the IP Address/FQDN of the network device, This field is the key to identify each device you add.
- Download the Synthetic Browser Journey recorder package from the agent configuration wizard.
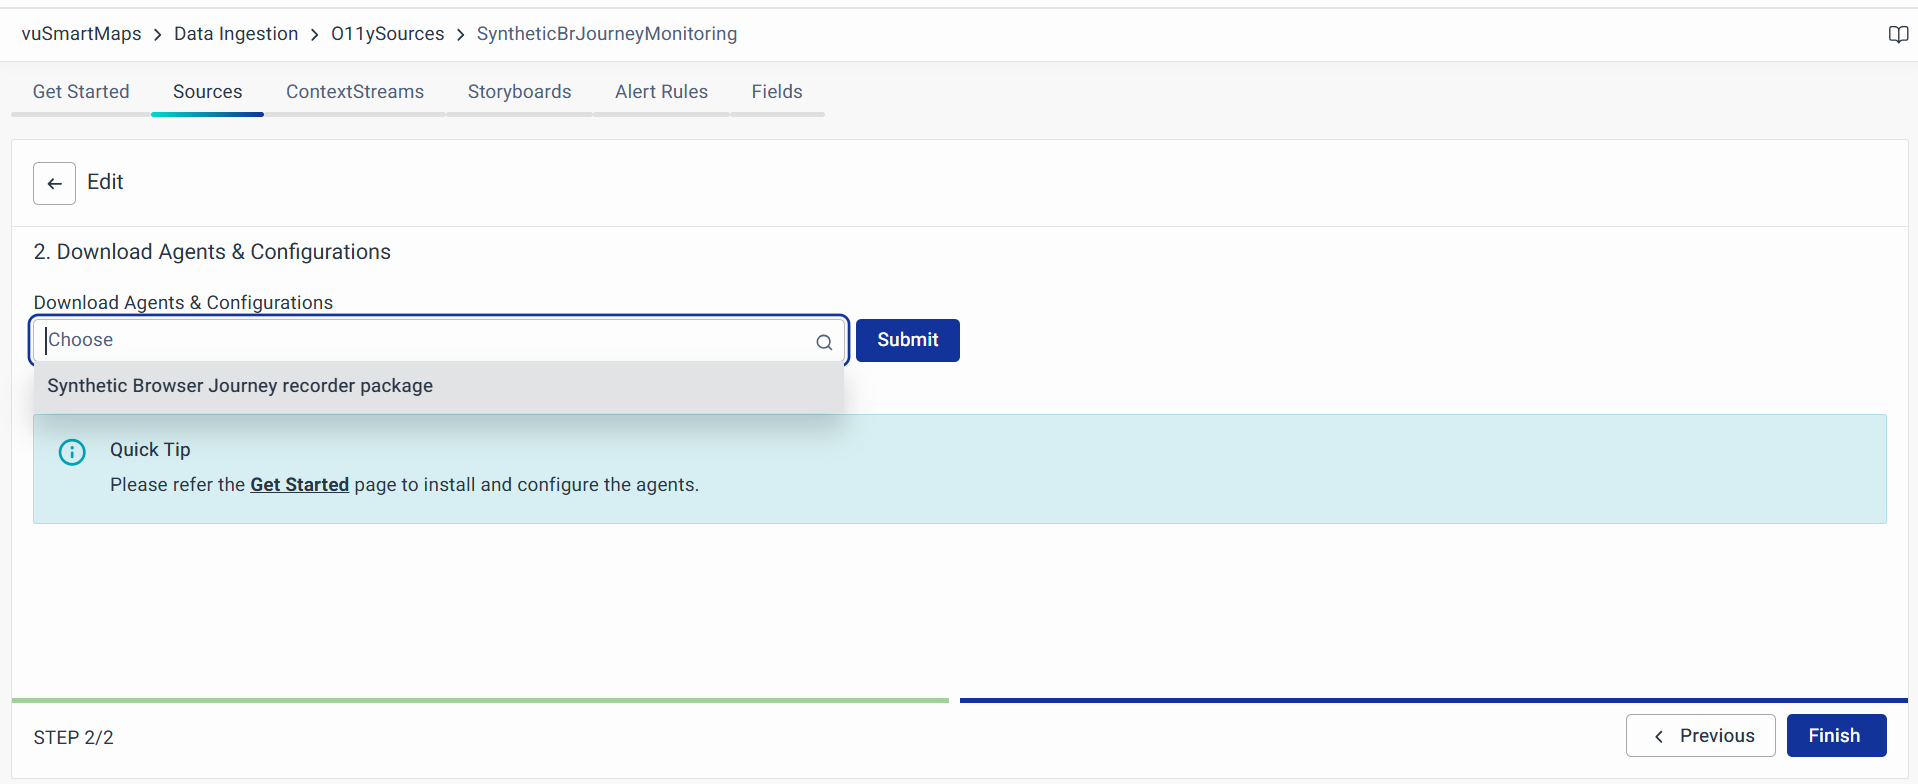
- Follow the instructions provided in the Steps to Run the Synthetic browser Journey Recorder.
Steps to Run the Synthetic Browser Journey Recorder
The Synthetic Browser Journey Recorder enables users to simulate real browser interactions, capturing journey execution metrics for analysis. Follow the steps below to download, configure, and execute the journey recorder.
Step 1: Download the Recorder Binary
Obtain the recorder package (recorder.zip) from the provided source. This package contains the necessary files to record and execute browser journeys.
Step 2: Extract the Package
Unzip the recorder.zip file to extract its contents. Ensure that all files are extracted properly to avoid execution issues.
Step 3: Navigate to the Recorder Directory
Once extracted, open Command Prompt (cmd) and navigate to the extracted folder using the following command:
cd <path-to-foldername>
Replace <path-to-foldername> with the actual directory path where the recorder files are located.
Step 4: Run the Recorder Batch File
Execute the following command to start recording a browser journey:
<Batchfile> -n "<JourneyName>" -u "<PageURLtoLoad>"
<Batchfile>– The name of the batch file used to run the recorder (found in the extracted folder).<JourneyName>– Specify a name for the journey being recorded.<PageURLtoLoad>– Enter the website URL to be monitored during the synthetic journey.
Step 5: Start Recording
After executing the command, the recorder will launch a browser instance with the specified URL. Users can interact with the webpage, simulating real user actions, such as clicking links, filling forms, or navigating between pages.
Step 6: Complete and Save the Journey
Once all necessary interactions have been performed, close the browser to complete the recording.
- The recorded journey file will be automatically saved in the scripts folder.
- The filename will match the Journey Name specified in Step 4.
Step 7: Send the Recorded Journey File
To proceed with deployment and execution, the recorded journey file must be manually shared with the CSG team for further processing.
